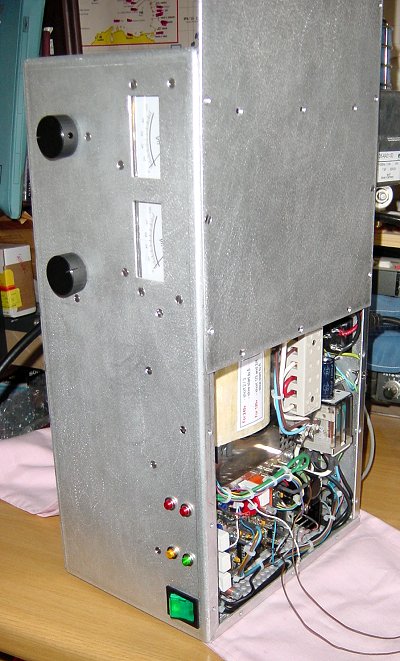
Testing the DXpedition Amplifier
I thought this section would be quite large but as it turns out it isn't really. Testing went pretty smoothly and I only had a few typical home constructor problems to overcome:

-
I mixed up two resistors on the control board and had to move them around.
-
Anode meter wire got broken somehow or another during the build.
-
One of the meters didn't work, I don't know why.
-
The HT monitor voltage wa too low so the amp kept tripping. Increasing R107/8 to 200k corrected the problem (I didn't realise there was another 100k shunt resistor on the G3SEK control card.
-
The original +24v relay I bought had a very low coil resistance of 127 ohm rather than 450 ohm so the slow start relay wouldn't pull in as it only had +9v rather +20 volt that it needed. I had to order another relay.
-
I never realized the mains voltage at my house varies between 230 and 235 volts these days (part of the harmonization with Europe) rather than 240 volts. I would have designed the transformers for 235 rather 240 volts if I had realized.
-
A solder splash shorted the +18v to earth on the control card - took me ages to find out the problem!
-
First power-up blew the mains fuse in the plug - only then did I realize that it was rated at 5 Amp - I replaced it with a 13 Amp fuse!
That was pretty much it by way of problems!
The principle order of testing was as follows:
-
Assemble and test the control board according to the comprehensive set of test procedures documented by G3SEK and check all the LEDS and reset button work. Make sure the HT Control lead is disconnected from K101!
-
Remove the central link from the primary of the HT transformer (thus ensuring there is no secondary HT voltage) and check that the slow start relay works and provided about a one-second delay.
-
Reconnect to primary link, remove the 8877 and check that the HT comes up and there are no flashes. Check the voltage at the HT monitor pin on the control board is greater that +6v.
-
Replace 8877 and adjust the bias voltage for 50mA standing current.
-
All that needs to be done now is to connect the amplifier to transceiver and a dummy load and tune it up. I obtained 1,900 watts without much problem!
